

The Form User API lets you manage users and organisation structure in Form LMS using data from your applications. Use this REST API to automate updates that you would otherwise make manually.
The API reference documents every endpoint using OpenAPI 3.0.
Setup flow
Before you start
- Use a new workspace where possible. We recommend a workspace without existing users, groups or organisation units to avoid data inconsistencies.
- Plan how you will manage updates. Enabling the API disables manual changes to users, organisation units and groups.
- Choose how to identify users. User endpoints accept internal IDs or email addresses. We recommend using email addresses.
Follow these steps to prepare your workspace. Each step shows whether you work in Form or send an API request.
- In FormEnable the API and generate a key
You need the Site Admin role. Follow the first steps below.
- API requestVerify your key
Call
GET /api/whoiamto check access. Verify your API key. - API requests · As neededCreate organisation units and groups
Prepare the structure that your users will join. Understand workspace configuration.
- In Form · OptionalConfigure enrolment rules and workflows
Choose courses for new members and follow-on courses after completion. Prepare enrolment rules.
- API requestInvite users
Send
POST /api/users/invite. Follow the invitation lifecycle.
First steps: enable the API and generate a key
You need the Site Admin role to enable the API and manage keys.
- Open API integration in your workspace settings.
- Enable the API and generate an API key.
- Verify your API key before creating organisation units or inviting users.
A successful verification returns details of the key and its workspace.
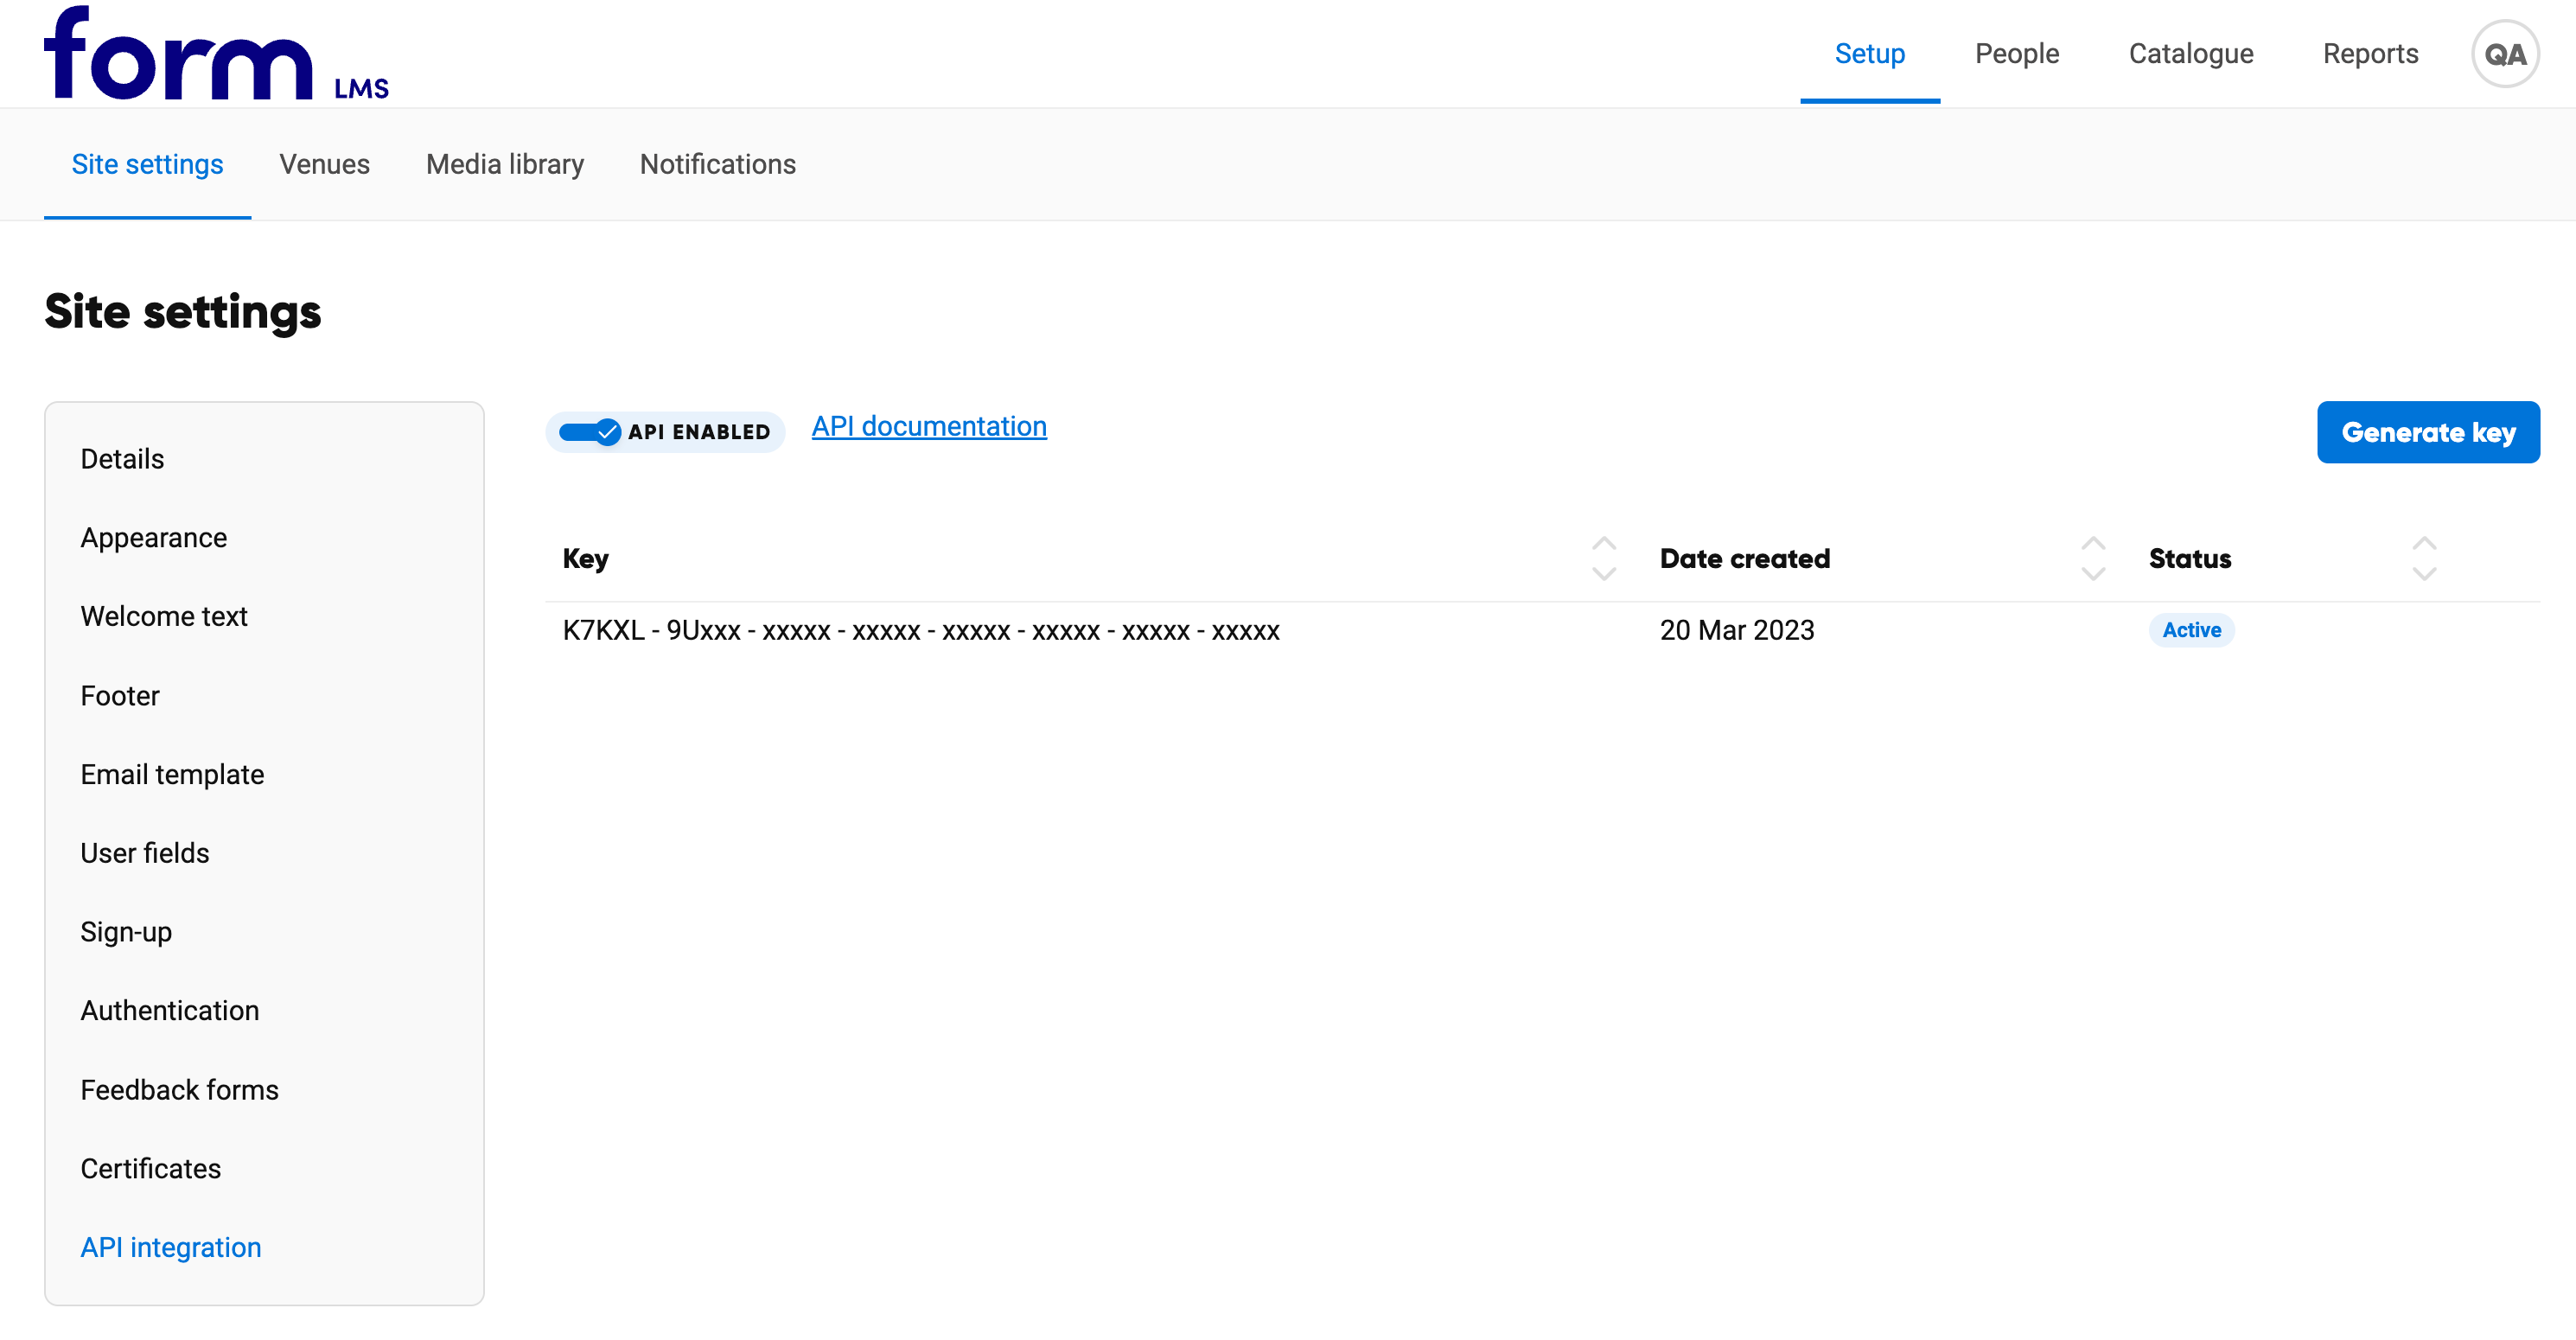
For the administrator walkthrough, see Setting up the Form User API.
Manage your keys
- If you cannot see API integration, contact Me Learning support to enable the API service for your customer account.
- Include an API key in authenticated requests. The public
/pingendpoint does not need a key. - Store keys securely: they grant access to sensitive data.
- If a key may be compromised, suspend it and replace it. Creating a new key does not suspend an existing key. A workspace can have up to two active keys.
Prepare organisation structure and groups
Form has two ways to organise users within a workspace:
- Organisation units reflect your organisation's hierarchy. Each unit can have child units, forming a tree within the workspace.
- Groups bring users together without a fixed hierarchy.
You can use both for automatic enrolments and workflows. An Admin must set up these rules in Form before they can apply to users managed through the API.
How enrolment rules apply
- When you invite a learner, the relevant courses populate their
suggestedCourses. Form enrols them on these courses when they first access Form. - When you move a user to another group or organisation unit, the destination's enrolment rules apply.
- When a learner completes a course covered by a workflow, the workflow enrols them on the next course.
An automatic enrolment may fail if no course licence is available. It may also fail if the learner already has an incomplete enrolment on that course.
Important: Disabling the API allows manual changes to organisation units and groups, which can cause data inconsistencies. Keep the API enabled while your integration manages the workspace.
Invite users
The main path below shows a learner accepting an invitation during their first access to Form.
- Your integrationSend the invitation
Call
POST /api/users/invite. The user profile isinvited, and relevant courses populate the invitation’ssuggestedCourses. - FormSend the invitation email
The invitation awaits the learner’s response. Sending the email does not enrol the learner on courses.
- LearnerAccept the invitation
The learner accepts during their first access to Form. Acceptance triggers profile activation and enrolment processing.
- FormActivate the user profile
The profile becomes
activeand the invitation becomesaccepted. - FormProcess suggested course enrolments
Form attempts enrolment for each course in
suggestedCourses. With no suggested courses, there are no enrolments to process from this list.
Enrolment can fail, for example when no course licence is available. Acceptance does not guarantee that every course enrolment succeeds.
Other invitation outcomes
- Resend: Send another invitation email while the learner is awaiting acceptance.
- Cancel: Cancel a sent invitation before acceptance. The cancelled invitation cannot be accepted.
- Reject: The learner can reject the invitation instead of accepting it.
Invitation requests
- Create an invitation:
POST /api/users/invite. - Resend an invitation:
PATCH /api/user/{userId}/invite-resendsends a reminder for an invitation already sent. - Cancel an invitation:
DELETE /api/user/{userId}/invite-cancelcancels a sent invitation.
We recommend using the user's email address as userId.
Read and update data
After adding your initial data, use GET requests to list objects and read their details. Use the relevant update endpoints to keep that data in sync with your applications.
Check the API reference for each endpoint's parameters, request body and responses.
Next step: Authenticate your first request.
If a request fails, follow Responses and errors. Contact Me Learning support if you need further help.